

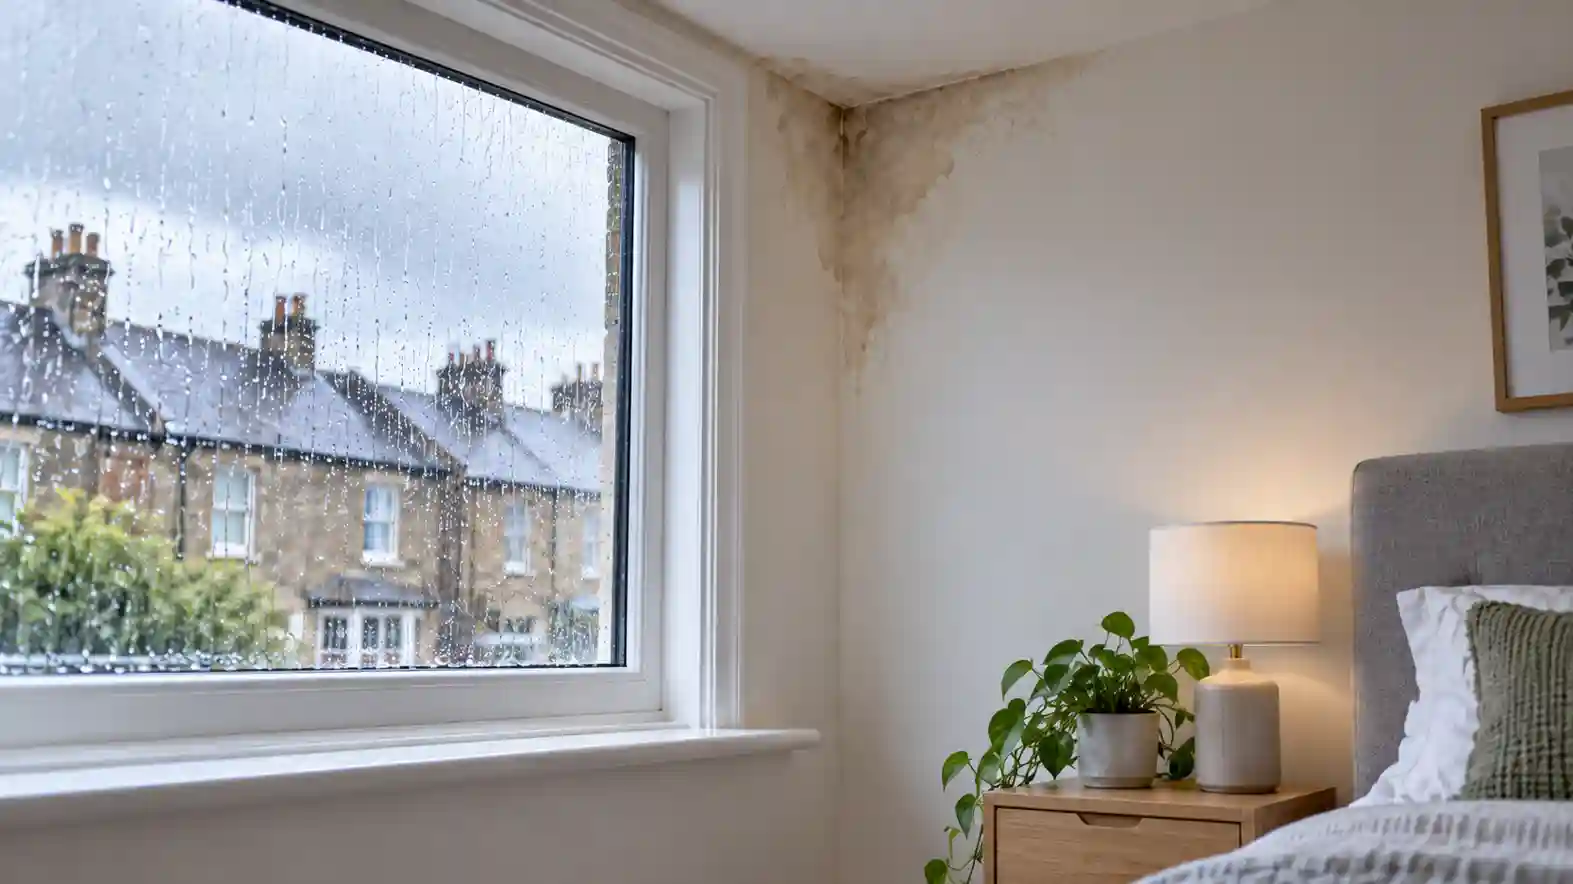
The stain appears on the ceiling two days after a storm, or the wall by the window feels cold and damp every time it rains hard. The natural assumption is that the water is coming in more or less where you can see it.
It often isn’t.
Water can travel before it shows itself, and the visible patch may be the end of a journey that started somewhere else entirely — along a roof timber, behind a wall finish, through saturated masonry or around an opening some distance from the stain. That is what makes rain-related damp frustrating to diagnose, but it is also why the most useful first question is not simply “where is it wet?” It is “what was the weather doing when it became wet, and what route could water have taken to get there?”
The mark on the wall is not necessarily the entry point
Once rain gets past a roof covering, flashing, render or another weatherproofing detail, gravity does not guarantee that it will appear directly underneath the defect.
Water entering a pitched roof can run along battens, rafters, membranes or the underside of roof coverings before finding somewhere to drip. At a wall, it can follow joints, cracks and interfaces around windows, lintels and other details. Permeable masonry can absorb and redistribute moisture before it appears internally, which is particularly relevant to older solid-wall construction.
This is why tracing penetrating damp properly means looking at the building as a system rather than pointing at the nearest external crack. RICS makes the broader distinction particularly well: penetrating damp describes one way moisture moves through the building, while solving the problem requires identifying where the excess moisture actually originates. RICS guidance on damp and mould
Traditional buildings make that distinction especially important. Solid walls built from permeable brick, stone, lime mortar, render and plaster manage moisture differently from a modern cavity wall. Historic England’s July 2026 guidance stresses the need to understand the building and interpret moisture measurements in context rather than allowing an isolated reading or visible symptom to become the diagnosis. Historic England: Assessing Damp in Historic Buildings
Read the weather pattern before reaching for a repair
One of the most useful diagnostic tools costs nothing: record when the damp appears.
A patch that reliably develops during or after rainfall makes external rain penetration a much stronger possibility than a patch with no obvious relationship to the weather. But the correlation is still a clue rather than proof. Condensation can worsen during cold, wet conditions because surfaces become colder, while low-level damp can have several possible sources.
The type and direction of rain can narrow things further. Wind-driven rain can force water against joints and openings that remain dry during gentler or more vertical rainfall, so note which elevation was exposed when the problem appeared. A window reveal that becomes wet repeatedly when storms hit one side of the house deserves to be investigated differently from a window that behaves identically in every weather condition.
Timing matters too. Does the mark appear while it is raining, immediately afterwards or the following day? Does it disappear between storms? Does a ceiling stain emerge only after prolonged rain rather than a short shower? Those details can help distinguish a rapid direct leak from moisture that has first travelled through or saturated part of the building fabric.
Photographing the affected area from roughly the same position before and after significant rainfall, with dates and the relevant weather conditions recorded, can therefore provide useful evidence if the problem eventually needs professional investigation.
Work through the building’s actual weatherproofing details
Once there is a credible relationship with rainfall, the investigation becomes less about attaching a damp label and more about understanding how that particular building keeps water out.
At roof level, missing or damaged tiles and slates are obvious possibilities, but junctions are often just as important: chimney flashings, abutments, valleys, rooflights, parapets, ridges, verges and the points where an extension roof meets the original building. A defect at one of those locations can admit water some distance from the ceiling stain eventually seen indoors.
Flat roofs have their own vulnerable details around outlets, upstands, edges, penetrations and membrane joints. A restricted outlet can allow water to build up during prolonged rain and expose a weakness that never becomes apparent during a short shower.
Walls need interpreting according to how they were built.
On an older solid masonry wall, failed pointing, open joints, defective window details or damaged render can allow excessive rainwater into permeable fabric. But the answer is not automatically to make the wall as waterproof as possible. Traditional construction normally depends on being able to release moisture again, and inappropriate low-permeability repairs or coatings can inhibit that process rather than cure the original defect. Historic England’s current damp-investigation guidance is particularly useful where an older building is involved because it focuses on understanding moisture movement before specifying treatment.
A modern cavity wall behaves differently. During prolonged driving rain, water can penetrate the external leaf; the cavity and its associated detailing are intended to stop that moisture reaching the inside and allow it to drain safely away. Problems can arise where mortar debris or another obstruction bridges the cavity, where wall ties and insulation are poorly detailed or installed, or where cavity trays, weep openings and junctions around windows and roofs fail to manage the water properly. Current NHBC Standards continue to treat resistance to rain penetration, cavity construction and local exposure as fundamental parts of external-wall design. Current NHBC Standards
That distinction matters because a wet cavity-wall property does not necessarily mean the bricks themselves have “failed”. The defect may be in the route that was supposed to prevent rain reaching the inner leaf.
Windows, gutters and deceptively small defects
Windows and doors deserve particular attention because several weatherproofing details meet in a small area.
Failed perimeter sealant is an obvious possibility, but it is not the only one. Sills need to throw water clear of the wall; junctions above openings need to deal with moisture correctly; and defects around lintels, cavity trays or frame interfaces can make the visible damp appear to implicate the window when the entry point is actually higher up.
Rainwater goods can create equally misleading symptoms. A partially blocked gutter may look perfectly serviceable in dry weather and only overflow when the roof is discharging heavily. A leaking joint, cracked hopper or defective downpipe can repeatedly throw a considerable quantity of water onto one small area of masonry, eventually creating an internal damp problem some distance from the fitting itself.
Where it can be done safely from ground level, watching gutters and downpipes while they are carrying heavy rain can therefore reveal considerably more than inspecting them once the storm has passed.
External ground levels matter too. Paths, patios, drives and flower beds can gradually be raised until they interfere with the way the base of a wall was intended to manage moisture. In England, Approved Document C illustrates the familiar principle of the damp-proof course in modern external walls being at least 150mm above adjoining ground level, although the construction and age of the particular building must still be understood rather than applying that figure blindly. Approved Document C: resistance to contaminants and moisture
Older buildings may have no conventional damp-proof course at all. The useful question is therefore not simply whether a DPC can be seen, but whether later paving, soil or drainage changes are now allowing rainwater to collect, splash or remain against a wall in a way the building was not designed to tolerate.
Read the pattern as a clue, not a diagnosis
| Where or when the damp appears | Sensible places to investigate | What would strengthen the suspicion |
|---|---|---|
| Ceiling stain near a chimney | Flashing, stack, flaunching, roof junctions | Appears after rain and evidence suggests water is tracking along roof construction |
| Damp around a window reveal | Frame junctions, sill, pointing/render, lintel or cavity detailing | Worse during wind-driven rain on that elevation |
| Damp beneath guttering | Overflowing gutter, leaking joint, hopper or downpipe | Defect visible while the rainwater system is under load |
| Damp only during storms from one direction | Weather-facing joints, openings, render or masonry details | Repeats when the same elevation is exposed |
| Low-level damp that worsens after rain | External levels, drainage, splashback, wall condition | Water visibly collecting or flowing towards the wall |
None of those combinations proves the source. Their value is that they tell you where to investigate next rather than encouraging an immediate treatment based solely on where the stain appeared.
What you can check — and where diagnosis needs to go further
There is quite a lot an owner can observe without turning the investigation into DIY building pathology.
From ground level, look for overflowing gutters, defective downpipes, obvious missing roof coverings, cracked render, deteriorated pointing, failed sealant around openings and external surfaces that fall towards the building. Check whether airbricks or the base of walls have become buried by later paving or landscaping. Where it is safe, repeat the external observation during rain: defects that are invisible in dry weather can become obvious when the drainage system and weathering details are actually under load.
A handheld moisture meter can add information, but it should not become the diagnosis. Material type, salts, temperature and the measuring technique can influence readings, particularly on masonry. Historic England’s 2026 guidance specifically examines the limitations of different moisture-measurement techniques and the importance of interpreting the data within a wider building investigation.
In practical terms, “the meter says damp” does not tell you why the wall is wet.
Where the route remains uncertain, an independent chartered building surveyor with building-pathology experience can be valuable before committing to a proprietary treatment. RICS likewise recommends identifying and remedying the actual moisture source and points consumers towards independent surveying expertise where investigation is needed.
More involved investigation may include access to concealed construction, appropriate moisture measurements or controlled testing of a suspected junction. The purpose should be to establish how water is getting through the building, not simply to confirm that a damp patch exists.
Avoid climbing onto roofs, leaning ladders against wet buildings or opening up concealed construction simply to chase a leak. Roof spaces and other voids can also introduce electrical, structural and sometimes asbestos risks.
The same diagnostic logic applies to flats and commercial property even where the construction becomes more complicated. Flat roofs, parapets, cladding systems, large rainwater outlets, suspended ceilings and internal fit-outs can hide the route for longer, while responsibility for putting the defect right may sit with a landlord, freeholder, management company or another party. Identifying the physical entry route and determining contractual responsibility for the repair remain separate questions.
Trace first, treat second
A damp patch that reliably appears after heavy rain is useful evidence because it gives the investigation something to correlate with the weather. What it does not provide automatically is the point where the rain crossed the outside of the building.
The useful sequence is to establish when the damp appears, which elevation or roof area was exposed, how the building is constructed and which weatherproofing details sit upstream of the visible mark. The suspected defect then needs to make sense with the pattern indoors.
That also explains why sealing the nearest crack, injecting a damp-proof course or redecorating the stain can fail. If the actual route is a chimney flashing, overflowing gutter, cavity bridge, defective sill or raised external level, treating the symptom leaves the source untouched. On a traditional building, an inappropriate attempt to seal moisture into the wall may create a second problem rather than solving the first.
There is one further trap after the correct repair has been made: wet building fabric does not necessarily dry immediately. A thick wall, plaster or concealed construction can retain moisture after fresh water has stopped entering, and the surface can even appear dry while material deeper within remains wet. Historic England’s drying guidance warns that drying can be a slow process and that aggressive attempts to force it can damage traditional materials. Historic England guidance on drying wet traditional buildings
That means continued dampness immediately after a repair does not automatically prove the repair failed. The more useful test is whether fresh wetting returns in response to subsequent rainfall, considered alongside how the affected fabric is drying.
The mark on the wall is valuable evidence. It just isn’t necessarily the place where the repair belongs.
Important: This article provides general property information, not surveying, building-pathology, legal or other professional advice for an individual property. Damp can have more than one source, and different forms of construction manage moisture differently. Where ingress cannot be traced safely from accessible areas, where damage is significant or persistent, or where a traditional or listed building is involved, seek advice from an appropriately qualified and independent building surveyor or other relevant specialist. Do not access roofs, unsafe ladders or confined spaces without appropriate training, equipment and risk controls.